If you are at the point of creating a Youtube channel for business but don’t know how to go about it, keep reading. We’ll show you where and how to start.
Step №1: Set up a business Youtube channel
No secret that Google owns YouTube, and if you have a Google account, you automatically have access to the video platform. You might have already had a YouTube channel, but if you plan to share it with your teammates, you might need another one. Thus, your colleagues won’t be able to sneak a glance at your mailbox, photos or whatever.
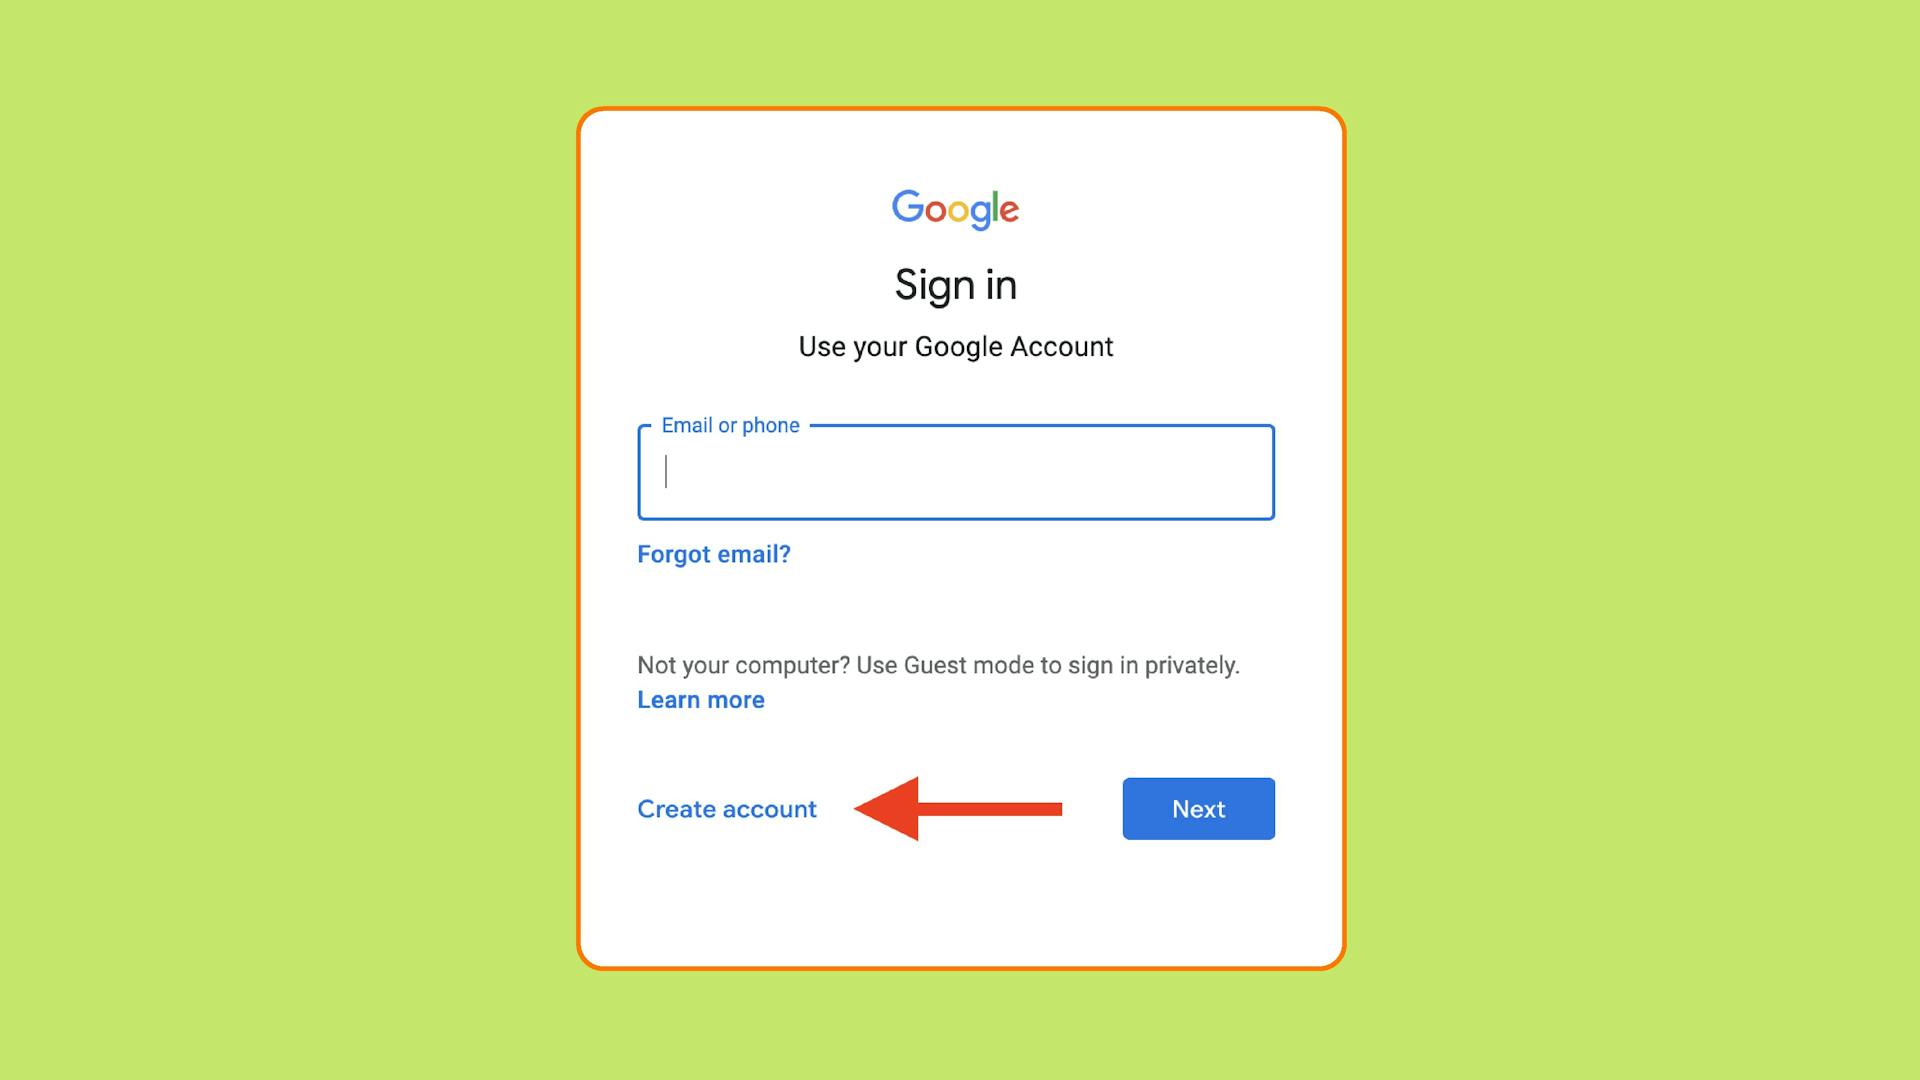
Start with creating a new account. To do that, open the Google page and push the Sign in button at the right upper corner.
And click Create account.
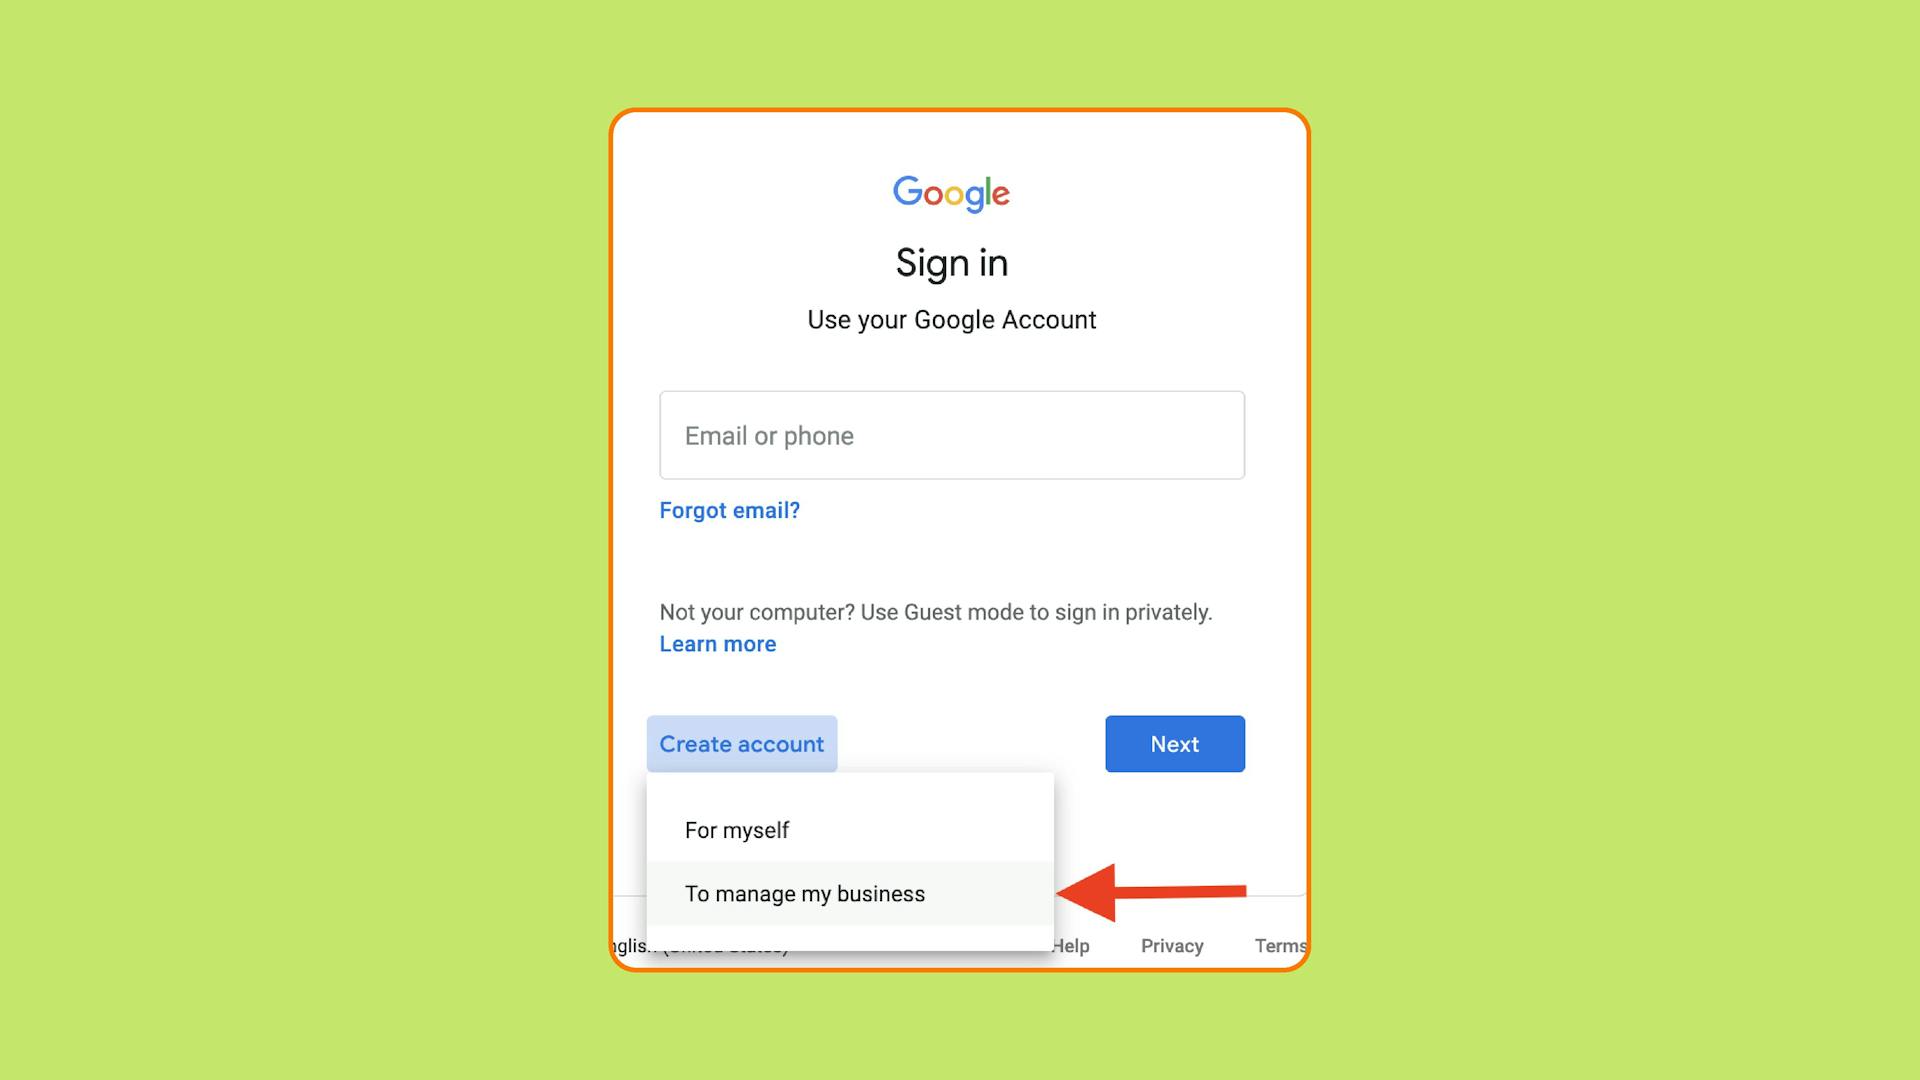
Then you have to choose between two options, which are For myself and To manage my business. You need a business account, so opt for the second option.
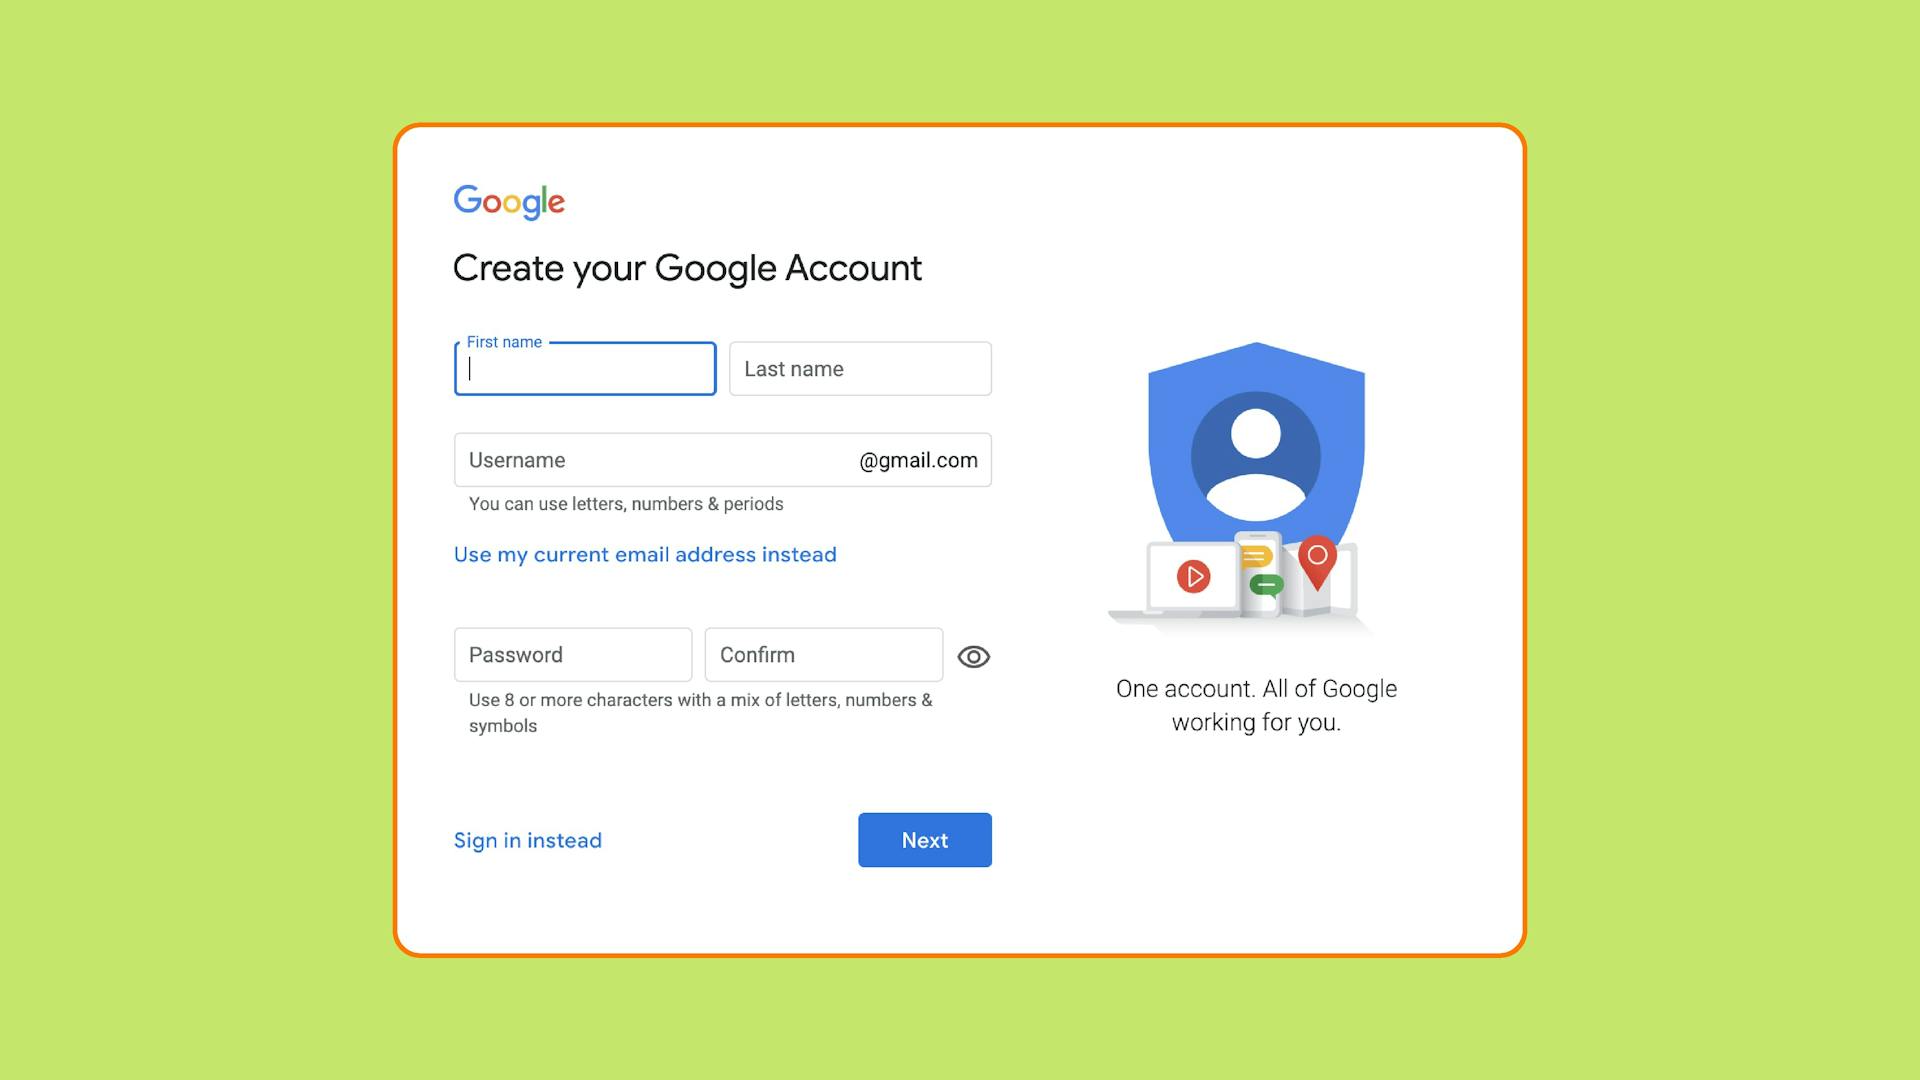
When the next window appears, simply follow the instructions and fill in all the required fields. And push the Next button. Confirm your phone number and agree with the Google policy. That’s all.
Congratulations! Now you are ready to navigate the YouTube waters. Let’s move on to setting up a business Youtube channel.
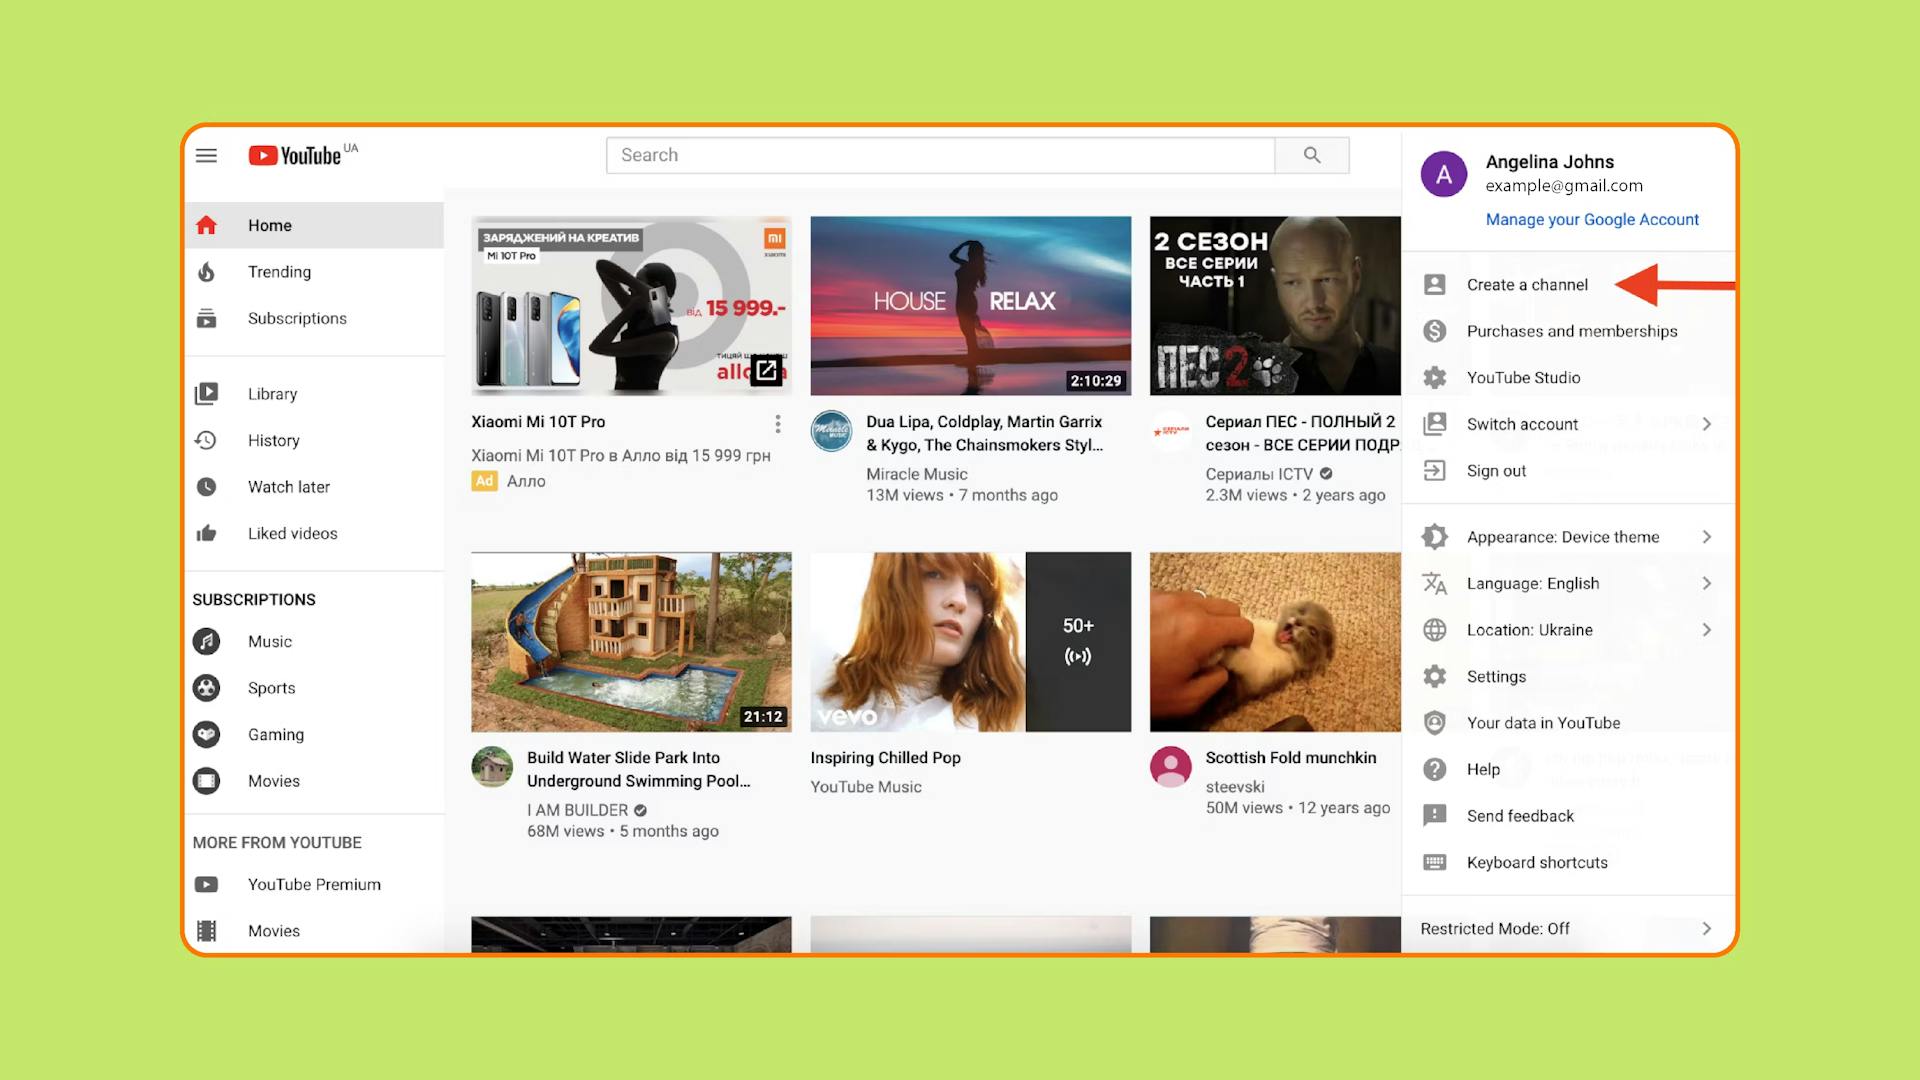
Search for Youtube and land on its page. If you aren’t logged into your brand-new Google account, do it by clicking on the Sign in button. Now you’re into your YouTube space, but we need to create a business channel. Tap your account module and see a window pops up. Click Create a channel.
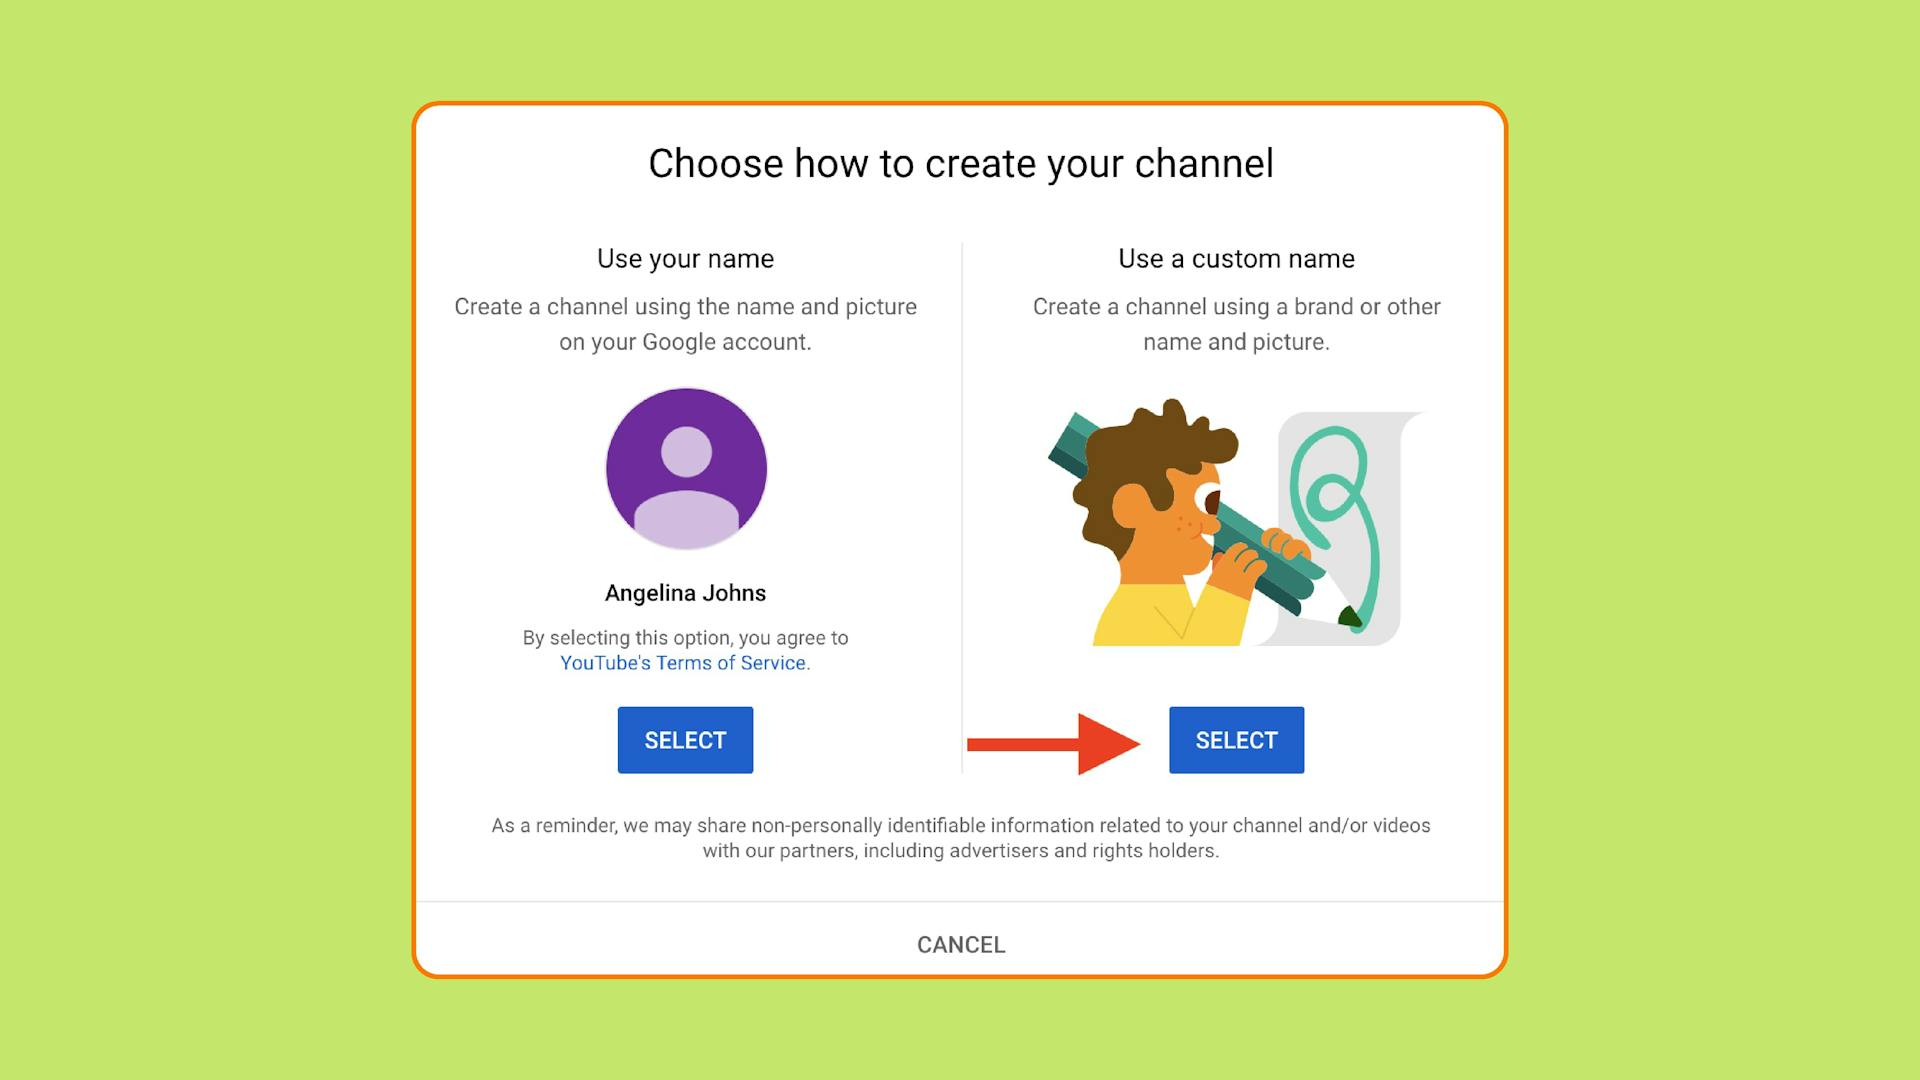
If your user name coincides with your brand name (in case you work on a personal brand), push the left button. But if it doesn’t, click the right one. You might be unsure about your channel label, and that’s okay! You can always change it in the account settings.
Next, upload your channel icon or signature image in other words. Add links to your social media account and website if you have one. And don’t forget to write a short description of your channel. There you can mention what your viewers find there and why your content is worth watching. To get a little bit of inspiration, search for similar businesses and look at their descriptions.
And here we go! Now you have an up and running YouTube account for business.
Step №2: Customise your YouTube channel
Now you need to modify your YouTube so that users can match it with your business. To get started, click on the Customize channel button.
There you have three sections: layout, branding and basic info. Let’s see what you can do with each of them.
In the branding section, you can change your channel logo. The best thing you can do with it is to keep it simple. Consider using the same logo as you have on social media. Or if you’re working on a personal brand, add a nice picture of yourself.
Then upload a banner image that will appear across the top of the screen. If you already have one, use it. If you don’t, make it by yourself. You can go to the Canva service or analogues. By the way, Canva has YouTube channel art templates, so you don’t need to worry about the banner size or anything in-between.
Branding watermark is another thing to take care of when customising your channel. It is a little Subscribe button added to every single video so you can grow your audience. Search a YouTube branded watermark in Google and upload it. Or go to Canva and create a customised sign there. When choosing the display time, opt for the Entire video option to make sure people can subscribe to you at any point of the video.
In the basic info tab, you can tweak the description of your channel and add your email and website addresses. Include the links to your social media pages to keep in touch with your subscribers there.
The most interesting section is layout because there you can create a channel trailer to lure potential subscribers into staying with you. Make it short, simple yet engaging. Remember about attention span. It is very short now. So, let people know about your business, what kind of content they will find on your channel and why it is worth their time, likes, and shares. And of course add Call to Action (CTA), which is “Subscribe to my channel!”.
Step №3: Set up permissions for your YouTube account
Since it’s a business channel, you might want to share your YouTube responsibilities with someone from your team. To do that, grant access to your Google account. There are three roles to choose from, meaning that you can assign different levels of access to each of your colleagues. Here they are:
- Owner. As the term implies, it’s a person who owns a channel. They can do whatever seems right in terms of profile management. Add or remove managers, edit any information, upload or delete videos and more.
- Manager. They have the same rights as the owner except they can’t delete the account or manage roles.
- Communications manager. They are responsible for interacting with followers and non-subscribed viewers of your channel.
To grant access to your channel, go to Settings.
And click on Permissions.
The next step is to push the Manage Permissions button. When you go to that page, add people to your channel and assign their roles.
That’s it! Now you can upload your first video. Find out how to make it spread around the world in the upcoming section.


 Most Popular Payment Methods in the World: Analysis by Markets
 How to Increase Conversions in an Online Store with a Checkout Page
 How Tranzzo Simplified the Payment Process for Tickets.ua
 Integrating Multiple Payment Methods: Challenges and Solutions
 Abandoned Shopping Carts: Why Businesses Lose Revenue and How to Increase the Number of Successful Payments

